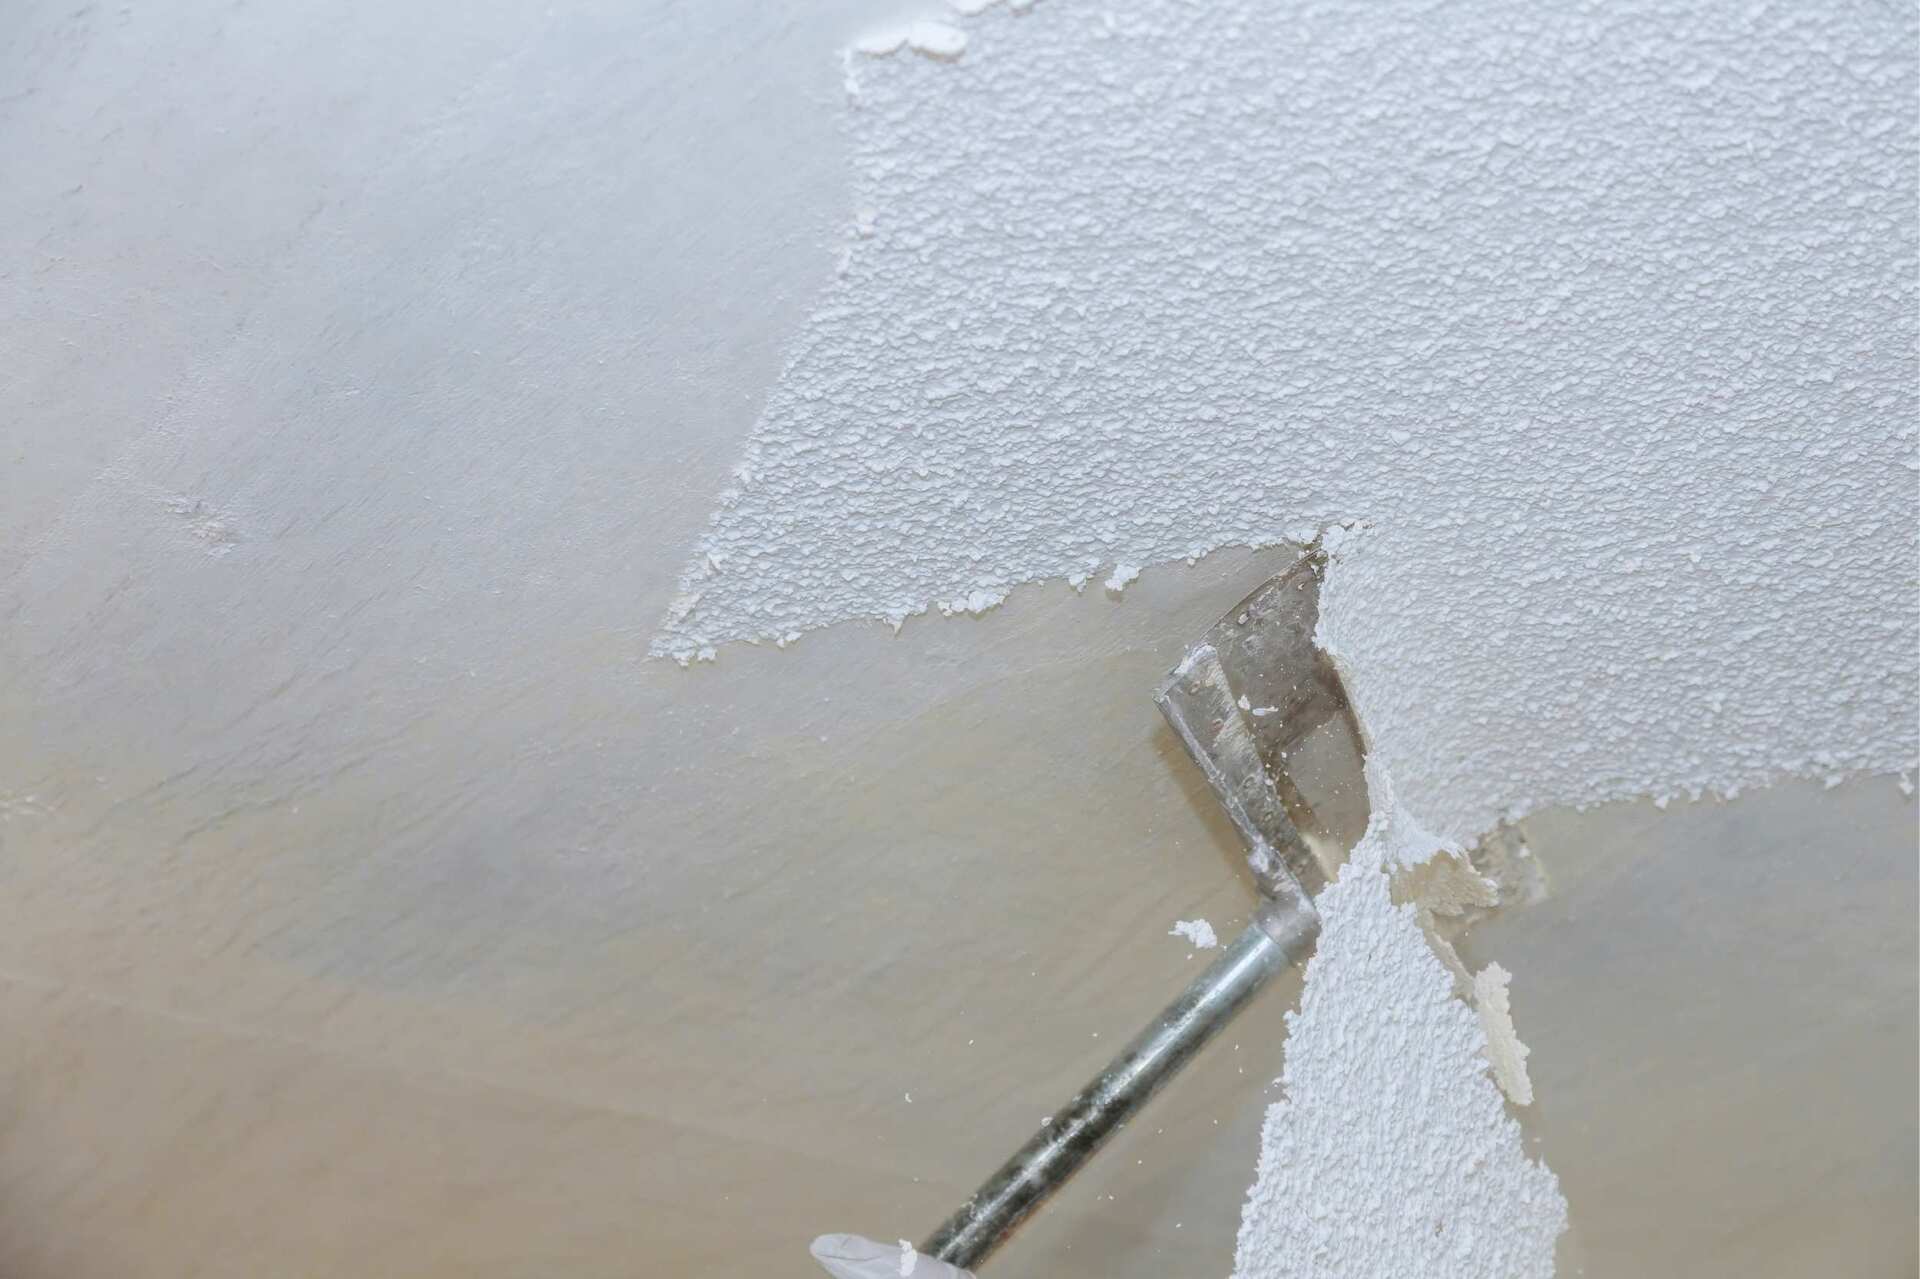
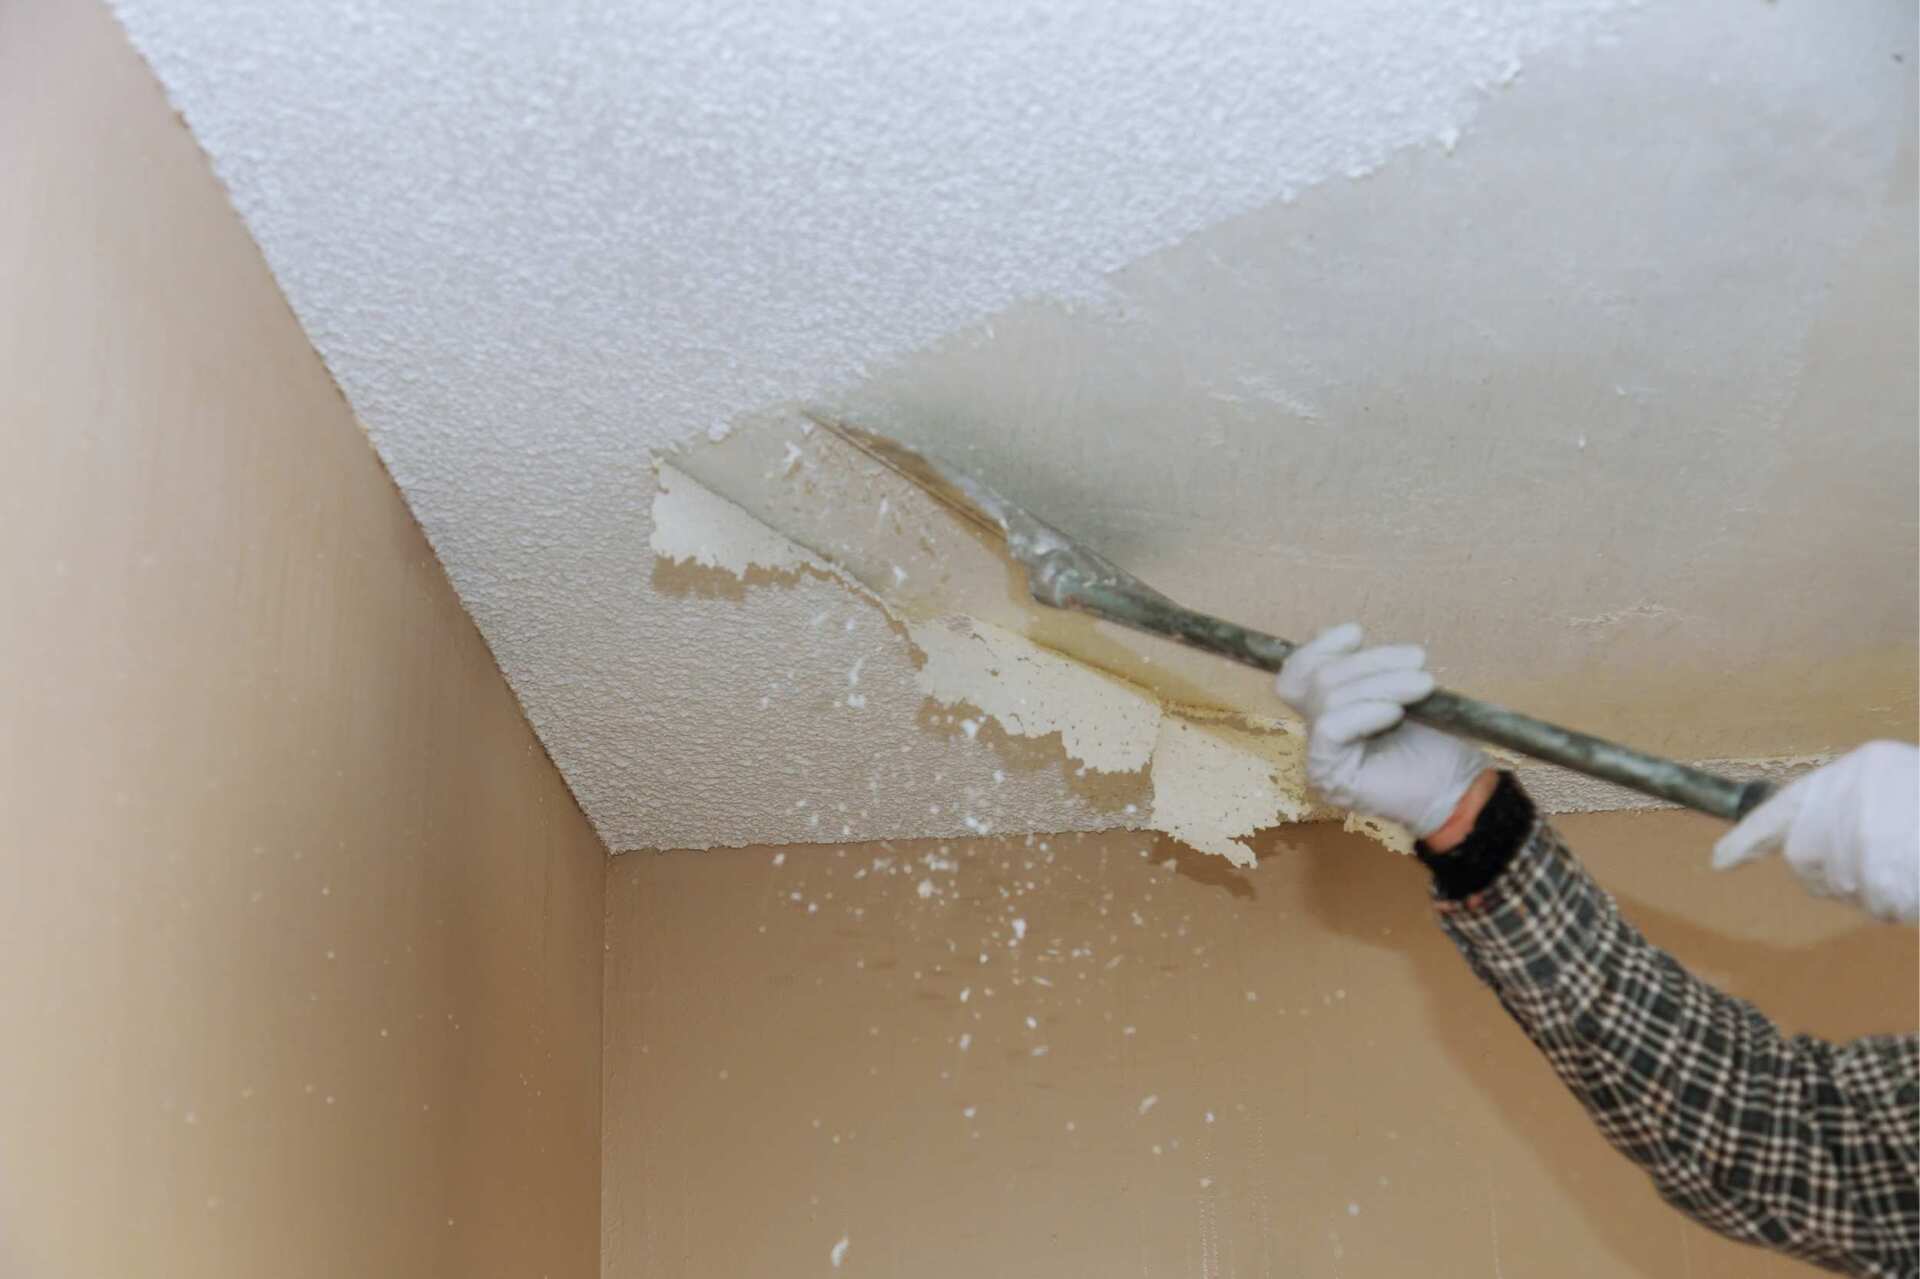
There comes a time in every homeowner’s life when they are faced with the dreaded popcorn ceiling. It can be a real pain to remove, and even more of a pain to paint over. But don’t worry, your trusted painting contractors are here to help!
In this post, we’ll show you how to remove popcorn ceiling texture without all the hassle. Plus, we’ll give you some tips on how to keep it looking like new again. So read on for all the info you need!

Preparing for an existing popcorn ceiling removal can be a daunting task, with the countless tools and products required for the job.
To start, it’s essential to gather all of your basic supplies, including painter’s tape, paintbrushes, spackle knives, scrapers, respirators, dust masks, goggles, a utility knife or box cutter, and heavy-duty plastic sheets.
In addition to these items, you may also consider hiring a professional house painting service to help you with any tricky or time-consuming aspects of the job. With their expert knowledge and skills in popcorn ceiling removal techniques, these professionals can ensure that your room will be back in perfect shape in no time.
Whether you are tackling this project on your own or relying on professional services, one thing is clear: getting rid of those pesky textured popcorn ceilings will take some work! However, with the right tools and some hard work and determination, you will soon be ready to enjoy a sleek new interior space.

Once you’ve gathered all of your necessary materials, you can remove popcorn ceilings safely by following this process:
Step 1: Thoroughly cover any furniture or surrounding surfaces with plastic sheets in order to protect them from any falling debris during the removal process.
Step 2: Use painter’s tape to mark off sections of the ceiling that you will be removing at a time. This will help keep everything organized and prevent you from losing track while scraping off chunks of popcorn texture.
Step 3: Carefully cut through any painted-over sections of popcorn ceiling texture using a utility knife or box cutter before beginning to scrape them off with a spackle knife or scraper. It’s crucial to remember to wear protective gear such as goggles, a respirator, and a dust mask during this process to prevent any potential irritation to your eyes, nose, and lungs from the particles in the air.
Step 4: Once all of the popcorn texture has been scraped off, use spackle knives or putty knives to smooth out any rough patches on the ceiling surface.
Step 5: Finally, let dry and apply a fresh coat of paint for a brand-new look!
After removing all of the popcorn texture from your ceiling, it is important to patch and repair any cracks or damage in the surface before applying a fresh coat of paint. This will ensure that your newly smooth ceiling looks flawless and professional.
To patch up any cracks or holes, use spackle or drywall compound to fill them in. Let this dry completely before sanding down the area until it is smooth.
With the popcorn texture now gone and the ceiling repaired, you can prepare the surface for painting. Sand the ceiling with a drywall stick and fill any holes or other imperfections. Then, prime the patched area to blend it seamlessly with the rest of the ceiling. Finally, apply a fresh coat of paint to complete the transformation of your ceiling and enjoy your newly refreshed room!
With these tips and techniques in mind, removing popcorn ceilings will no longer be a daunting task for you to tackle. So gather your materials, get to work, and enjoy your new smooth ceiling!
Are you in need of a professional contractor to help update your ceilings or complete a painting project? Look no further than Fort Lauderdale Painters. With years of experience and a focus on customer satisfaction, we’re the perfect choice for all of your interior painting needs.
We are experts in popcorn ceiling removal. If you’re in Broward County and would like us to complete this for you, let us know! We’d love to come and offer you a free estimate.
© 2026 Fort Lauderdale Painters